

Getting Started
Once you have successfully logged in to your Qualtrics account, then you are ready to create a survey. There are several options for creating a new survey, and we will help you become familiar with them in this tutorial. This is the first step you will need to take as you start the survey building process.
In addition to teaching about survey creation, this tutorial will briefly go over survey distribution as well as viewing the results.
Table of Contents:
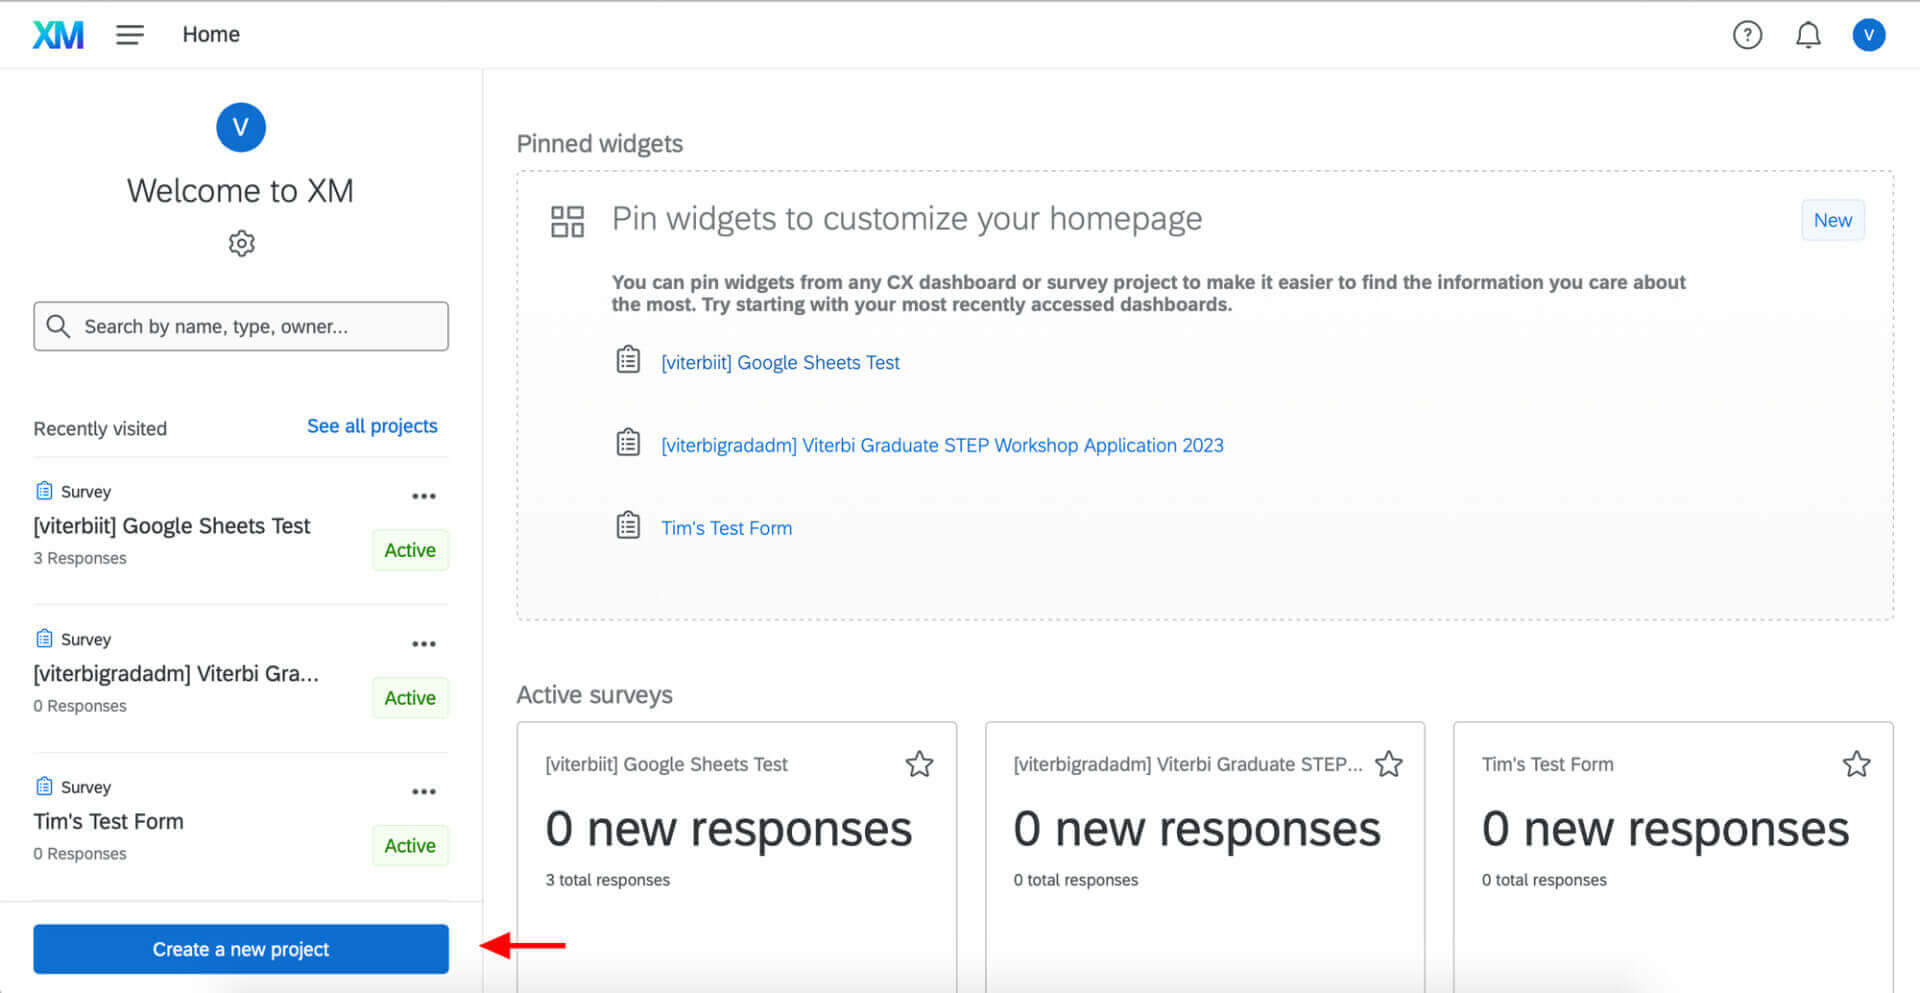
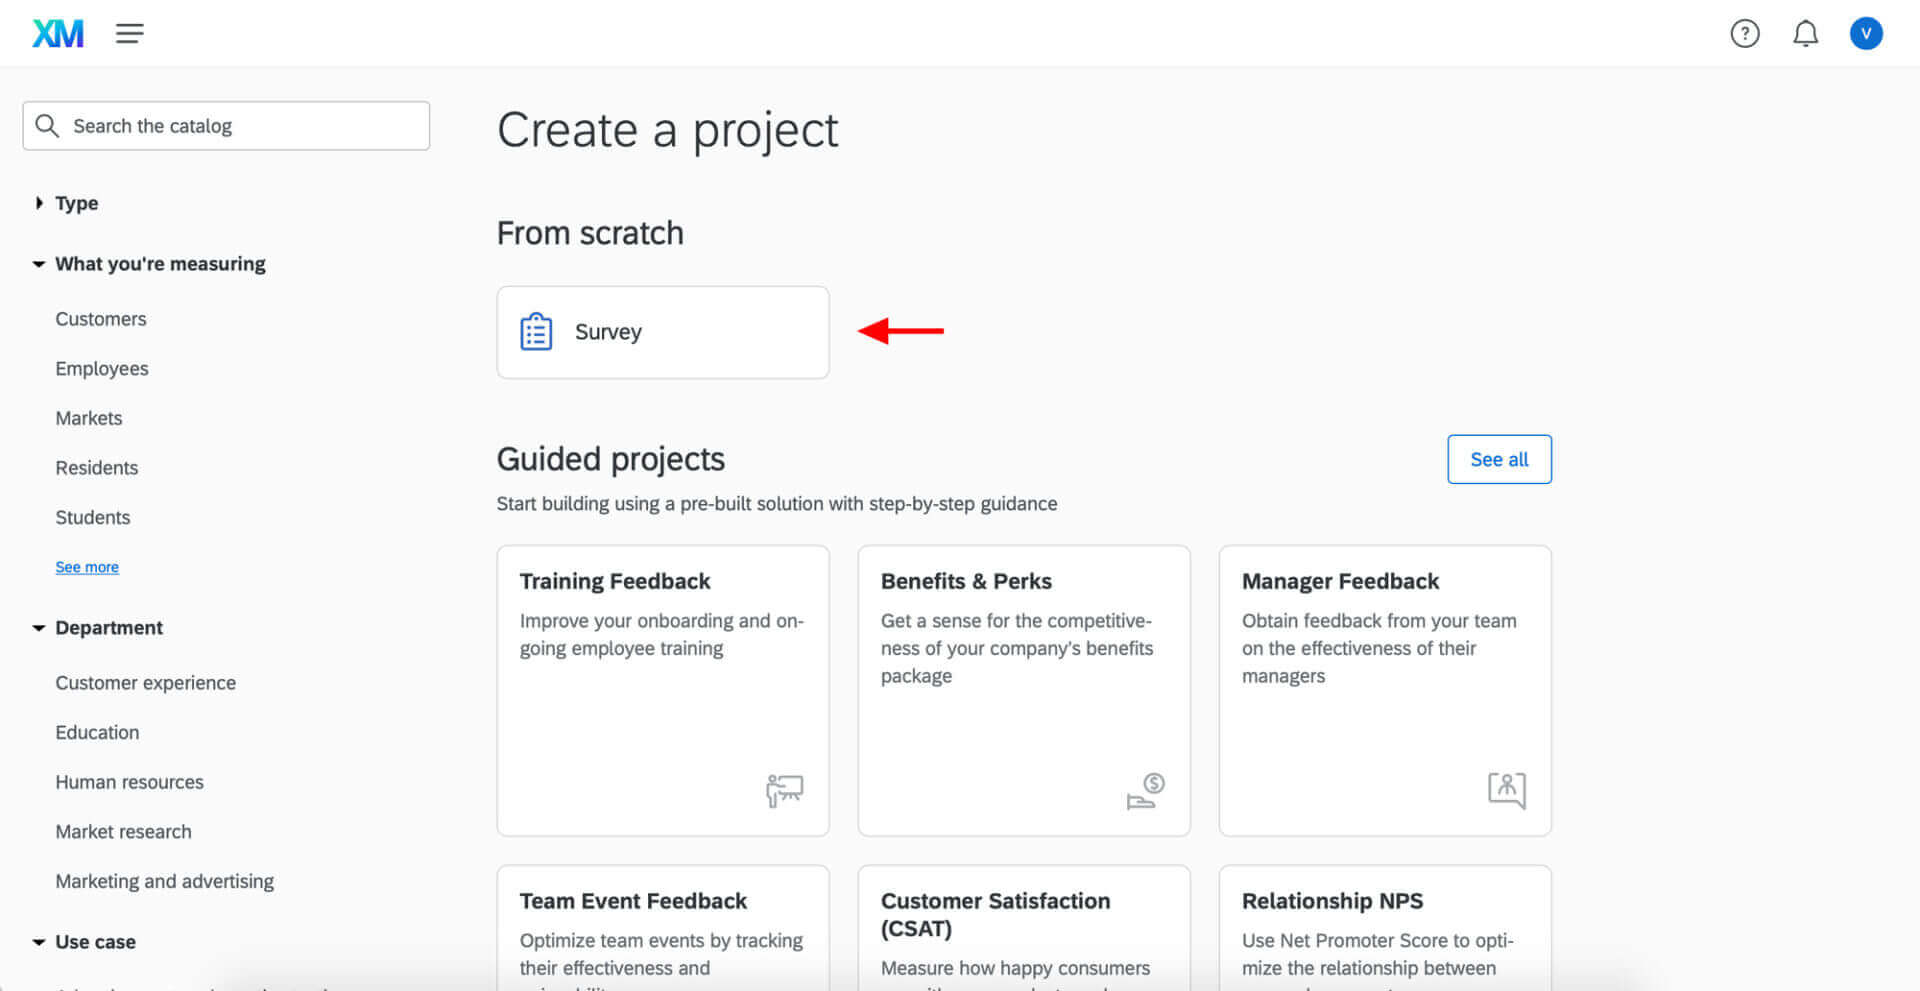
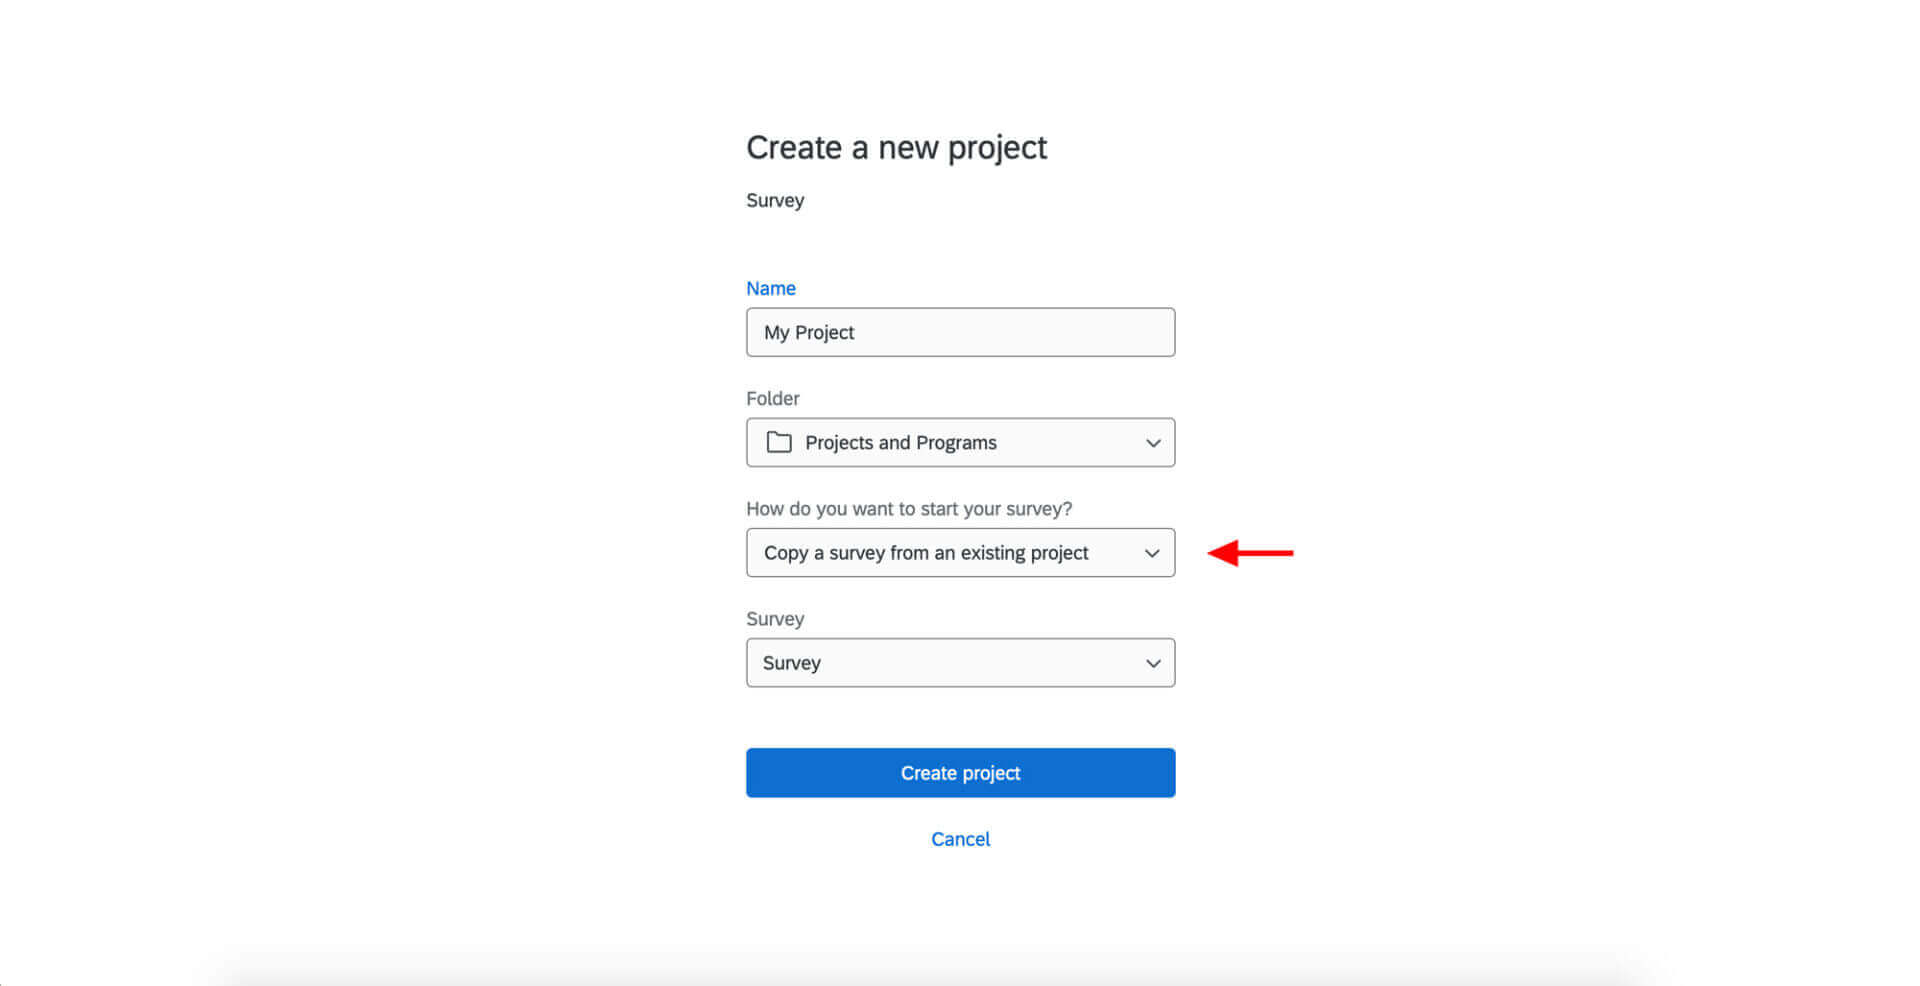
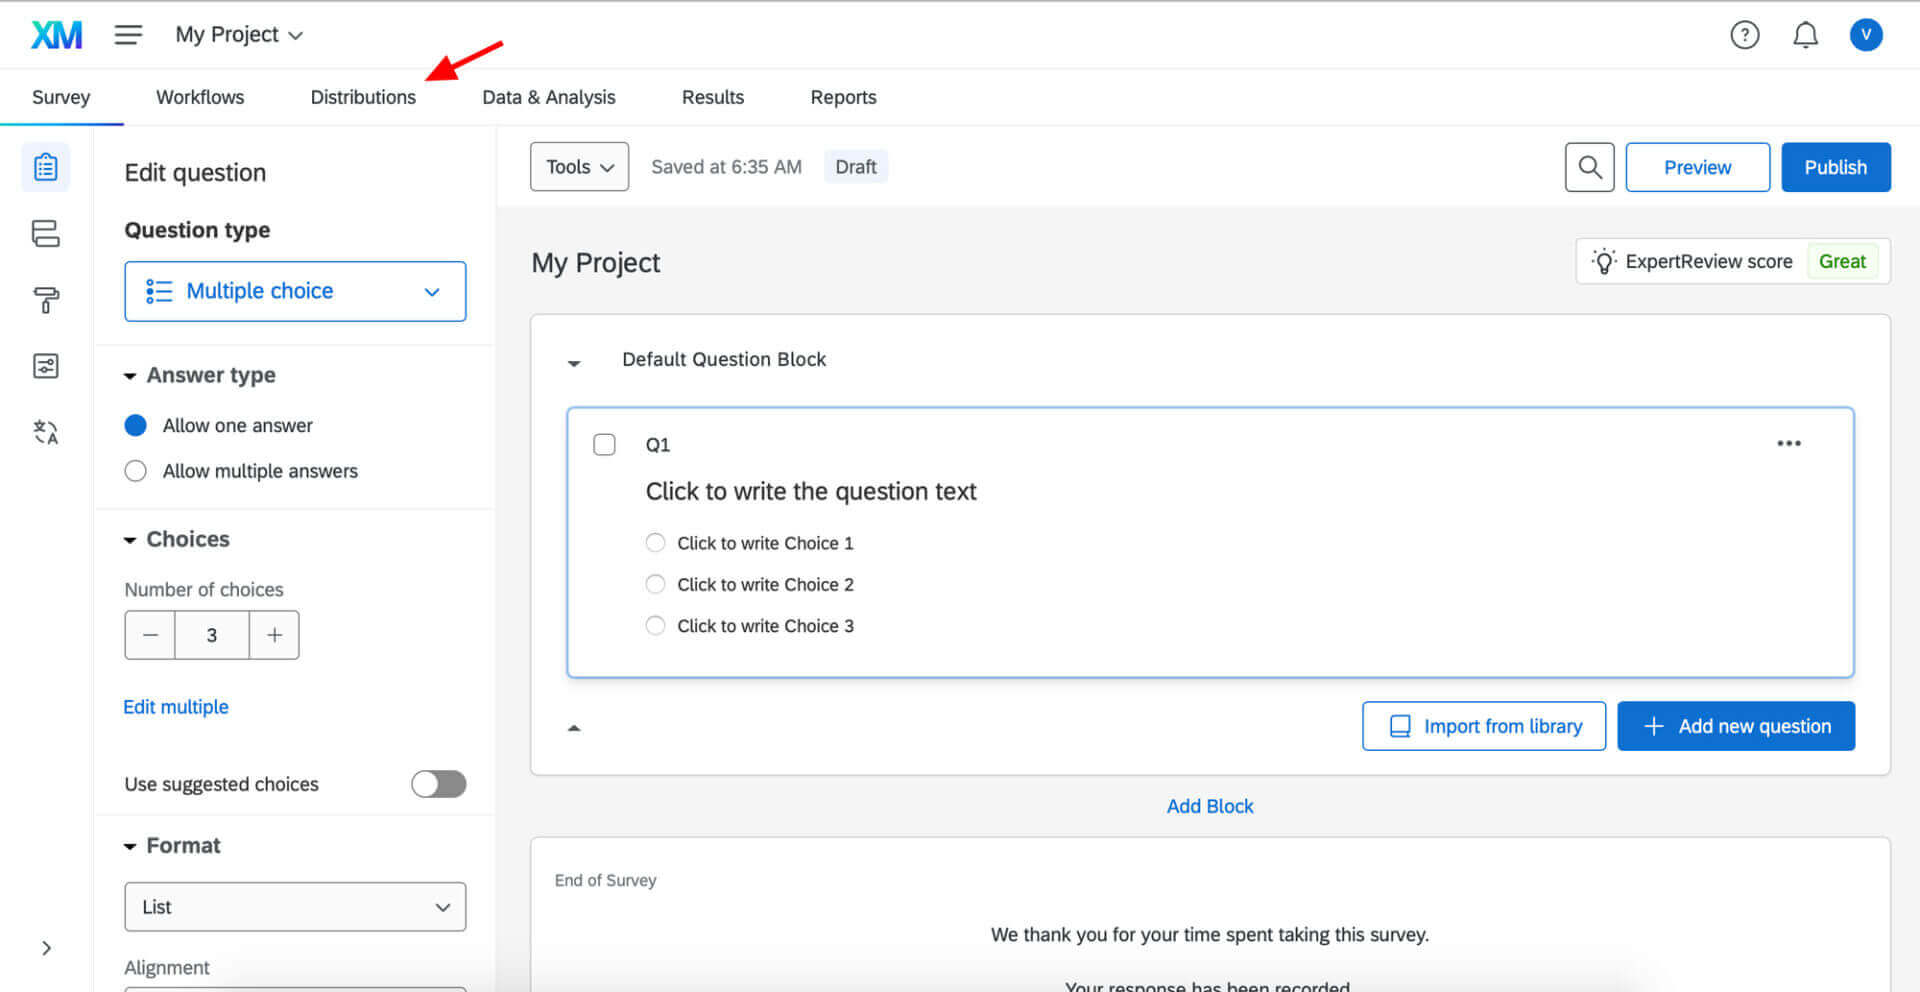
Before you being your survey it's important to consider theses threeOnce you login to USC Qualtrics, your new sessions will begin on the Projects page with the option to create a new survey. Most projects can be easily created by choosing the "Create a new project" option as seen here:
Survey Options
Survey Options is where you go to change many general survey settings, such as the survey expiration date or the message that will appear to respondents when they finish the survey.
To access these settings, click Survey Options at the top of the Survey tab. Here you will find options for:
- General
- Responses
- Security
- Post survey
For our purposes, I'd like to focus on the Security options:
- Survey Access
- Password protection
- Add a referral website URL
- Prevent multiple submissions
- Prevent indexing
- Upload files access
- Anonymize responses

- Survey Access:
- Helps you ensure that only the appropriate people take your survey. You’ll also find options like password protection and expiration dates.
Distributing Your Survey
Now that you've created your survey questions you will need to distribute your survey. These options can be seen by clicking on the "Distributions" option as seen in this image:
There are three primary ways to distribute your survey * :
- By composing an email to be sent by Qualtrics (see our tutorial on Composing Emails in Qualtrics).
- By creating a link that you can use in your email (see image below).
- By creating an <iframe> that can then be used to display a surevey on your website.
* There are many options to choose from, however the three mentioned above are the most common.
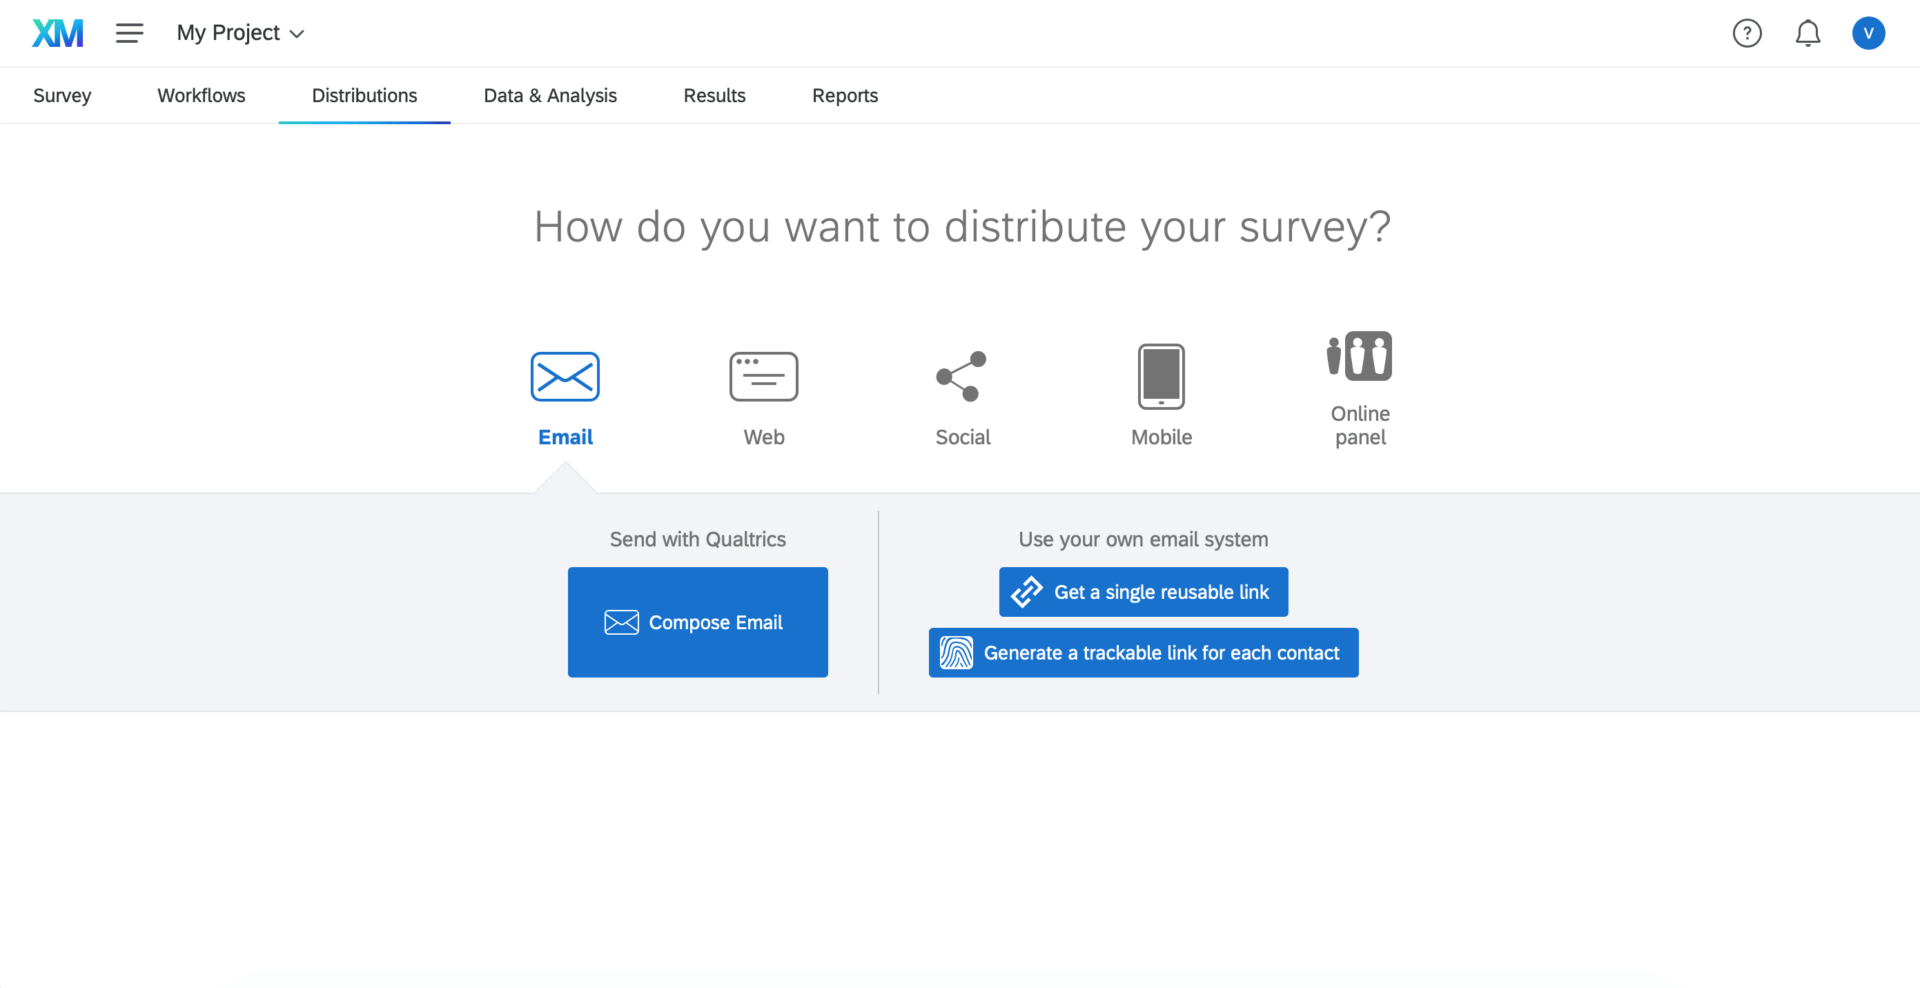
- The "Email" above is the option to use Qualtrics email where you can control the text you'd like to appear in your email.
- If you choose the "Web" option you will see the link that is generated by Qualtrics. You can use this link in an email to share your survey, or you can create an "Anonymous Link" using the "Customize Link" option.
- There are four primary steps to creating an <iframe>:
Creating an Iframe:
- Copy the URL distribution link for the survey either when publishing the survey or by clicking on the "Web" option.
- Paste the URL distribution link into the sample <iframe>* :
- Adjust the height pixel dimensions as needed.
- Paste the iframe into a text element on your page.
* <iframe src="your survey URL" height="1500px" width="600px"></iframe>
Viewing the Results
More to come soon.