How to Create a New Widget Area
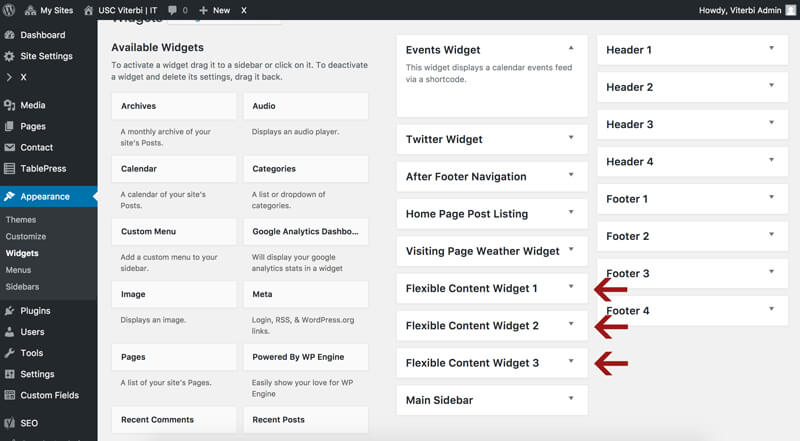
There are currently three widget areas designed to flexibly manage additional widgets, as seen here:
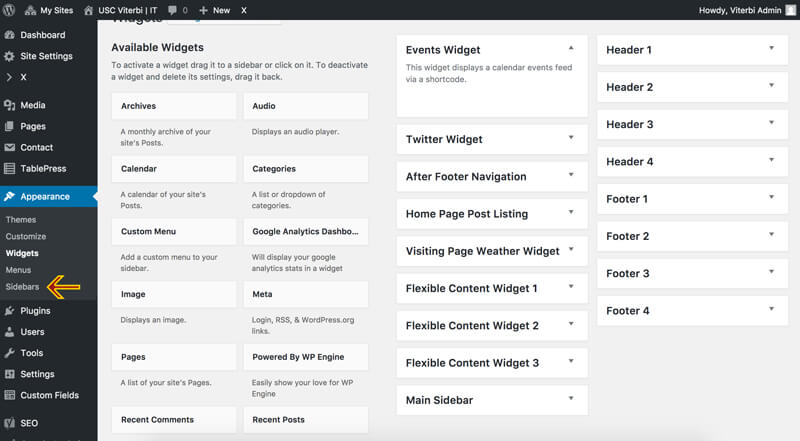
Additional widget areas can also be created by going to Appearance / Sidebars, and creating a new sidebar as seen here:
When you click on “Sidebars” a new page should appear that looks like this:
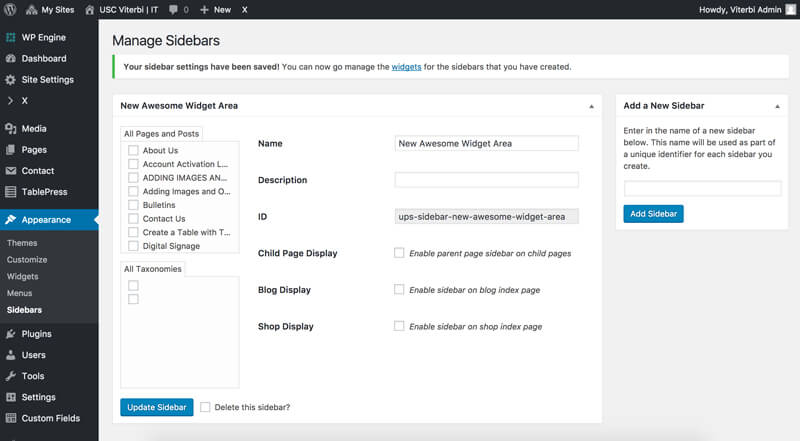
- Give the sidebar a name in the “Add a New Sidebar” area, and click “Add Sidebar.”
- Then choose which pages / posts / areas you would like the sidebar to be activated on by ticking the
appropriate box(s). - Click “Update Sidebar,” and you’re done!
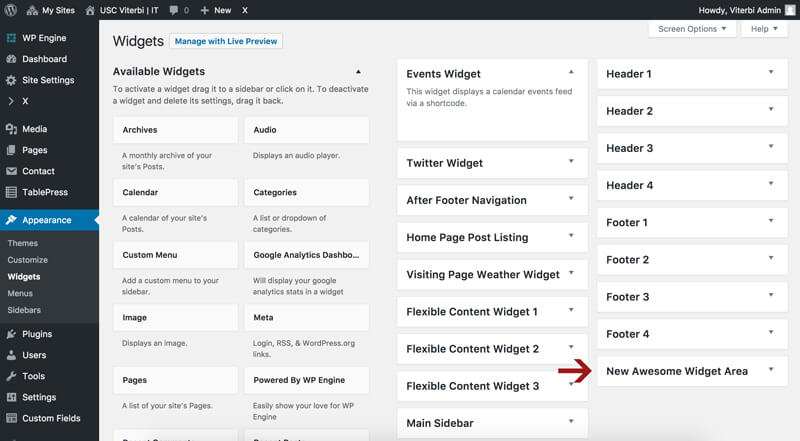
You have now created a new sidebar / widget area which will appear in the widget area like this: